Tips for Winterizing Your Boat
As the days grow shorter and winter’s cold grip tightens its hold, the inevitable task of preparing your boat for its annual hibernation has once again arrived. Winterizing your boat is a crucial step to safeguard your valuable investment during the deep freeze and ensure that your vessel runs smoothly when the season resumes. Although this process requires some knowledge and effort, the end result—having a boat that starts up smoothly come spring—is unquestionably rewarding.
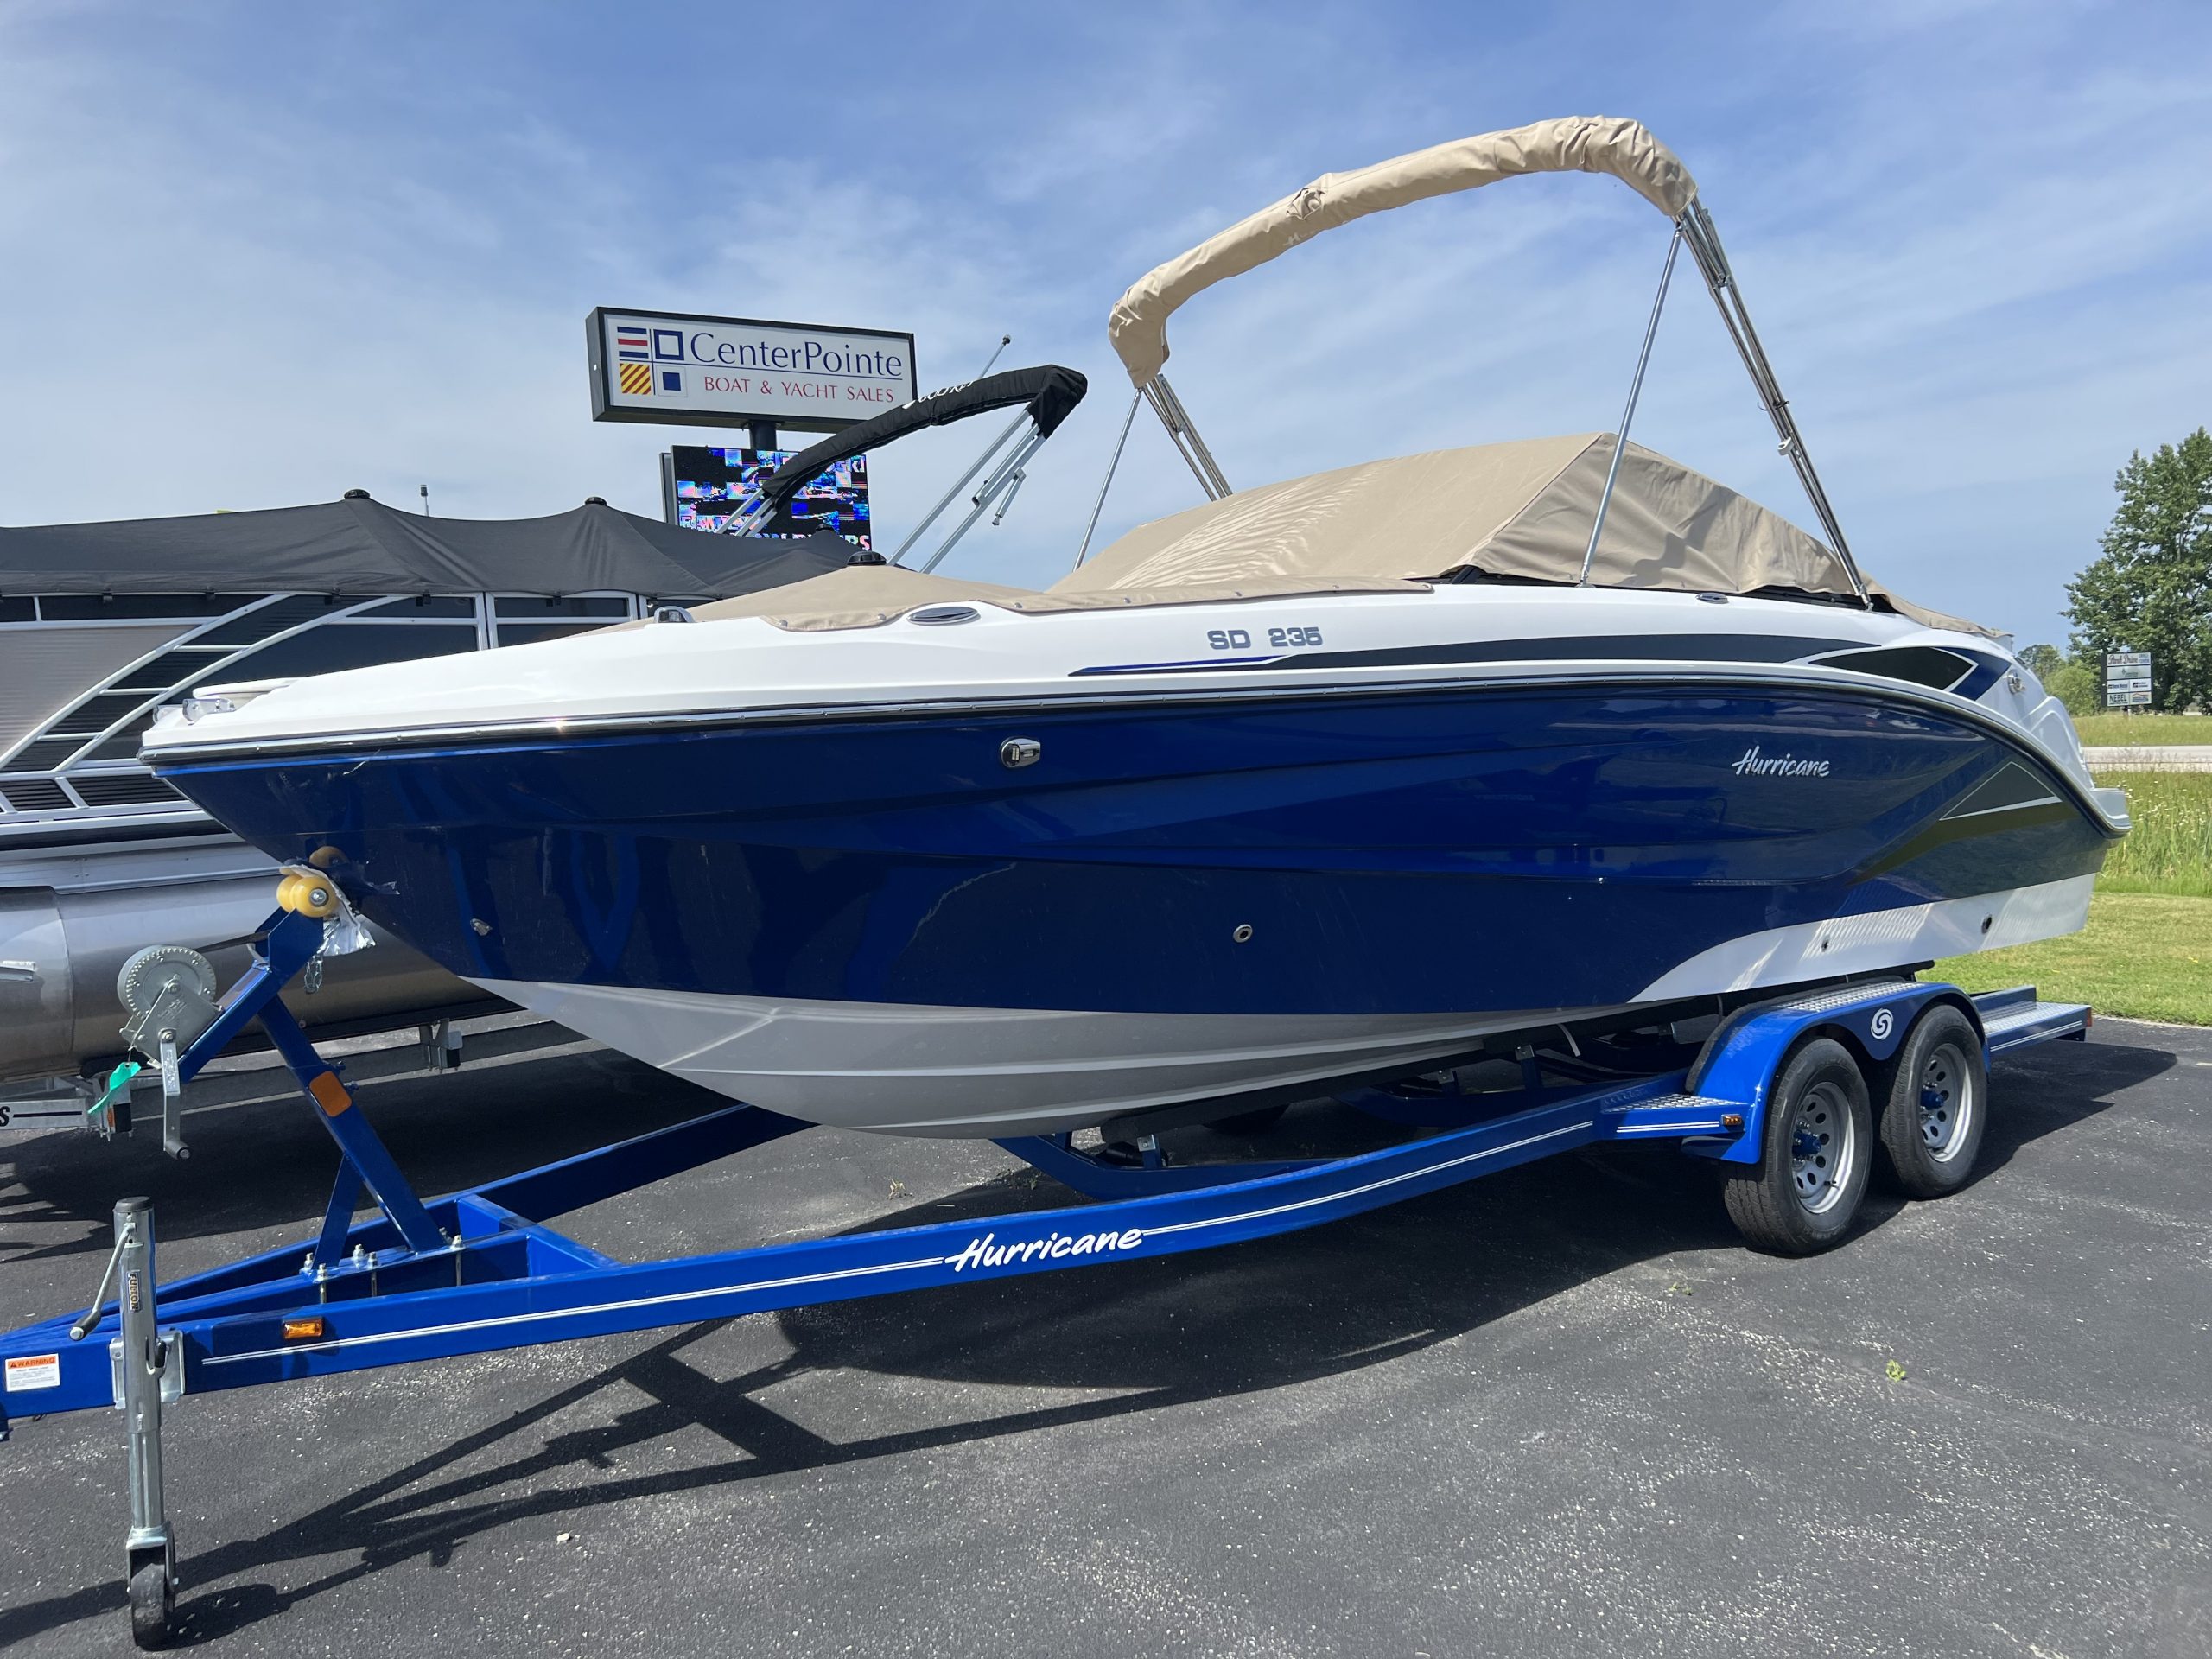
Winterizing Your Boat, Trailer, and Motor
To safeguard your boat’s engine and systems during the winter, here are the steps to follow:
*Remember this is a general guide with tips and tricks, and you should always consult your owners’ manuals, or contact the service department of your local certified dealer for specific instructions to prepare your boat, motor, or trailer for winter!*
- Beginning the Winterization Process for Your Boat, Trailer & Motor
Pro Tip: Consider using a reputable fuel stabilizer like STA-BIL Fuel Stabilizer, which removes water to prevent corrosion, cleanses carburetors and fuel injectors, and shields your engine from gum, varnish, rust, and corrosion, thus extending the life of your engine.
Winterizing your boat involves several straightforward steps that, for the most part, are not overly complex. Take your time, double-check your work, and maintain a checklist to track each task’s completion.
Before delving into the specifics, it’s essential to thoroughly clean your boat, trailer, and engine. This helps eliminate all the dirt and grime accumulated over the season, leaving your boat in pristine condition when the cover comes off in spring. You can ask the CenterPointe service or parts departments for recommendations on products and best practices to ensure you cover your bases!
Start by removing the drain plug and elevating the bow of the boat higher than the stern to allow any water to drain out, preventing damage from freezing liquid that could crack the hull.
Remove all items from your boat, including boat seats, electronics, life jackets, fishing gear, and other items. Electronics like fish finders and trolling motors should be stored indoors. This not only safeguards your belongings from damage but also reduces the risk of animals nesting on board. Placing a few mothballs under the cover and in compartments can deter rodents.
While your equipment is removed, you can conduct an inventory over the winter to identify items that need replacement or repair. Inspect for any holes or worn/broken parts.
Remove the boat’s batteries. Clean the terminals with a wire brush and a mixture of baking soda and water. Apply petroleum jelly or grease to the terminals once they’re dry. Check the water levels and top up if needed. Keep the battery fully charged throughout the winter, periodically recharging it to maintain optimal performance.
Pro Tip: Mark your calendar to check your boat at the beginning of every month to ensure everything is in order.
- Winterizing the Outboard Motor
- Winterizing an outboard boat engine involves several steps that, once learned, become relatively straightforward. Start by filling all gas tanks to prevent moisture buildup during the winter. Inspect hoses, bulbs, and connectors, replacing them if there are leaks or signs of deterioration.
- Change the fuel filter and water separator, and add a fuel stabilizer to the gas tank to ensure fresh gas in the spring.
- Attach a motor flusher to your garden hose and slide it over the water intake vents on the lower unit of the motor. Start the engine and allow it to idle for 15 minutes while running water through it. This ensures that the fuel stabilizer circulates throughout the system. While the engine is running, spray a fogging agent through the carburetors until visible smoke emerges from the exhaust, indicating the engine is fogged. This protective layer of oil reduces the risk of moisture-related damage.
- For four-stroke engines, remove the spark plugs and apply the fogging agent to the cylinder walls, spark plugs, and pistons.
- Spin the flywheel by hand (as per the owner’s manual) to evenly distribute the oil.
- Examine the spark plugs for wear and tear. You can choose to keep the old plugs in place during the winter and replace them in the spring. Ensure they are correctly gapped when installing.
- Coat the entire engine body with a silicone anti-corrosion spray to prevent moisture from adhering to the components and causing damage.
- Drain the lower unit oil, paying close attention to its clarity. Cloudy or milky appearance may indicate seal problems, which should be addressed by a certified marine mechanic. If the oil appears fine, pump fresh oil into the lower unit through the upper screw hole until it seeps out of the lower hole. Replace the top screw first and then the lower one.
- Remove the propeller and check for entangled fishing line or debris on the shaft. If seals are damaged, they should be replaced. While the propeller is off, inspect it for cracks, bends, or breaks. If it’s significantly worn, consider replacing it or having it rebuilt. Coat the shaft with lubricant and reinstall the prop.
- Clean the Boat Bilges and Livewells
- Thoroughly clean and dry the bilges and livewells to prevent water from freezing and causing damage. As a preventive measure, you can add a small amount of antifreeze to these areas, but be sure to rinse it out thoroughly before using the livewells again.
- Inspect Your Boat’s Hull
- Take this opportunity to examine the bottom and sides of your boat’s hull for cracks, damaged or missing rivets, and weak joints. Minor damage can be addressed as a DIY project, but major issues may require professional attention. Remember that CenterPointe has a full time specialized fiberglass team on staff with years of experience in everything from minor scuffs to dock rash to major fiberglass repair.
- Prep Your Boat Trailer for Winter
- The trailer is a crucial part of the winterization process. Check all lights for water and thoroughly dry them. Remove the bulbs and apply a moisture repellent to the sockets. Inspect the seals and replace light covers as needed.
- Examine the wiring harness, trailer bunks, and winch. Apply a small amount of petroleum jelly to the connectors and cap them for the winter.
- Jack up each wheel and spin the tires. If you hear a grating noise or if the tire isn’t rotating freely, there may be a bearing issue that requires closer inspection. If things appear to be in good condition, remove the wheel assembly, clean it, and repack it with fresh grease. After reinstalling the wheels, add more grease through the bearing protectors.
- Check the trailer tires for wear and proper inflation. For added protection, remove the wheels and store the tires indoors to prevent exposure to the elements and the development of flat spots that can occur when a trailer remains stationary over time. Ensure the trailer is properly supported before removing the wheels.
- Elevate the trailer by raising the axles while keeping the springs in the load position; this is the correct method for storing your boat trailer.
- Cover Your Boat
- Once you’ve completed all the above steps, it’s time to securely cover your boat. Start with the boat cover itself, then use a series of poly sheets to provide additional protection. Fasten these snugly using ropes and bungee cords to ensure a tight, secure fit. Even the slightest drafts can allow wind and the elements to infiltrate, so don’t hesitate to go the extra mile.
Remember that if you are not a DIY person, or you simply want the peace of mind that a certified marine mechanic performed all the factory recommended maintenance and winterizing on your boat, motor, or trailer- contact our service department today and get on the schedule!